|
Gray scale paint card
|
 |
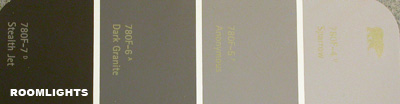 |
| OttLite 5000K (13 watt) | My basement Overhead Room Lights (5000K) |
 |
|
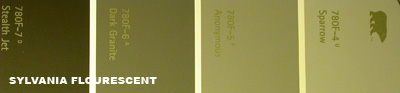
| Sylvania warm white (13 watt) | Incandescent higher wattage |
 |
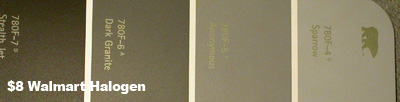 |
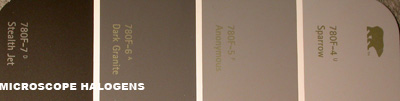
| Microscope Halogen (Less than full voltage) | 20 watt Screw-in Halogen |
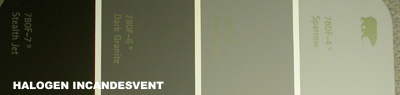 |
You can go out a buy a Kodak gray scale test card, or you can carefully select a gray scale paint sample set from your local paint store. Be ABSOLUTELY certain that the scale is gray and not tinted. It doesn't help to use a tinted set of cards and work up methods in photoshop to color correct. |
| Another Halogen screw-in |
The same color correction will then work in all future photos as long as the lighting is not changed. Be very certain that all surfaces used for reflectors are either silver or pure white. Light reflecting from a colored surface will pick up the color of the surface. Also light transmitted through a translucent surface will pick up that color too. Hence the repeated message to use WHITE or non-tinted bowls in the previous sections.
In my basement studio I use 4 ft. fluorescent bulbs in the over head fixtures that are all 5000°K so my normal overhead lights are close to true color. Thus if I forget to turn them off when shooting table top setups they have little effect. Not true if you use standard fluorescent bulbs in your overheads, they will typically add a sickly green to all images. All lighting entering the scene being photographed will affect the color balance, so be wary of any stray lights.