![]()


|
|
||||
|
|
||||
|
|
|
|||
|
Taking Photographs of
Minerals and Gemstones |
||||||||||||||||||||||||||||||||||||||||||||
|
|
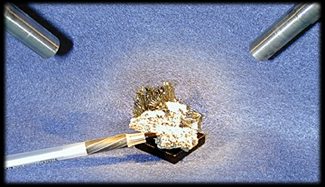
The lighting set up defines the image. My first picture in each mineral series is typically done with only the camera's macro lens, and I use the two halogen lights that are part of the microscope set-up. When the lights are used directly, the lighting is very hard and usually a bit too bright. On samples with a metallic reflectance (or shinny crystal surfaces), the crystals are often washed out and lack detail because there is is just too much light. |
|||||||||||||||||||||||||||||||||||||||||||
|
|
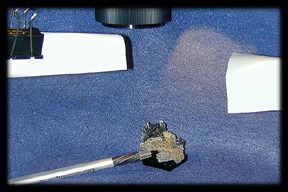
This "direct lighting" is too hot for many mineral specimens . Indirect lighting works better on most highly reflective surfaces. Background selection is also important depending on the final use for the image. I often use solid color felt as a background color. If I need to separate the mineral from the background, then there are two things which help. First put some distance between the foreground mineral and the background, this allows you to make the background a bit more out of focus, and offers better separation.
|
|||||||||||||||||||||||||||||||||||||||||||
|
|
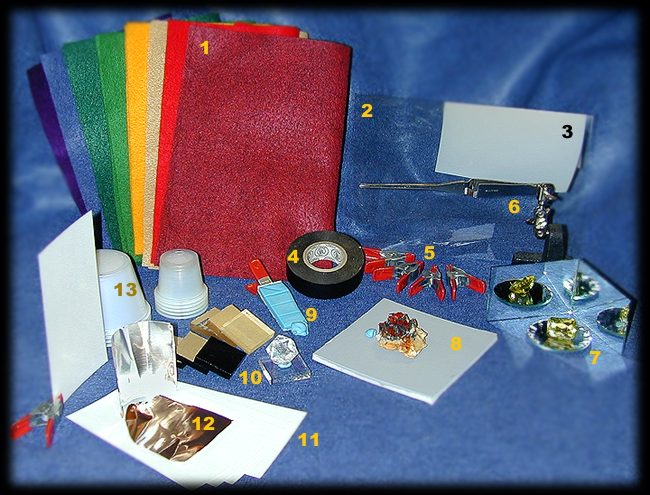
Second for easiest separation use a colored piece of flat paper or painted foam core board, as a smooth surface offers easier post separation than a textured background. To reduce the harshness of the lights I have developed a really fancy "barn door" for my halogen microscope lamps. I wrap a white piece of paper around the barrel of the lamp and attach it with a large paper clip. The clip allows me to rotate the paper reflector in any direction without having to reposition the lamp. |
|||||||||||||||||||||||||||||||||||||||||||
|
|
|
|||||||||||||||||||||||||||||||||||||||||||
|
|
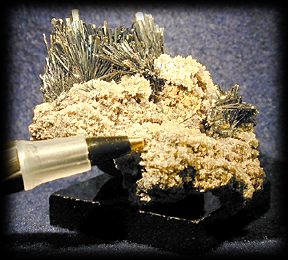
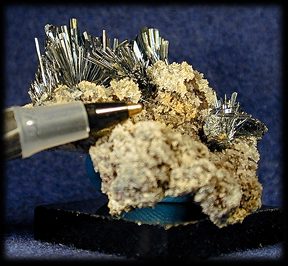
This simple technique creates a softer light that brings out more detail in the shinny objects while still providing adequate light intensity. When doing a series of photographs I now use a pen tip in the image to provide some relative scale. Next well look at some different light placements with some different samples using this simple two light system. I will also use an occasional reflector to highlight a particular part of a crystal or open up a shadow area. A reflector? Yes, a 3x5 card leaned against something or held in a clamp. Pretty sophisticated stuff ... Before doing those additional shots let's look at the secondary devices I use in most of the macro photography. |
|||||||||||||||||||||||||||||||||||||||||||
|
|
||||||||||||||||||||||||||||||||||||||||||||
|
||||||||||||||||||||||||||||||||||||||||||||
|
|
|
|||